Blazin Presenter makes it easy to move beyond the usual built-in typefaces and bring your own style into a project. If you want branded typography, more creative presentation design, or just something that feels less generic, custom fonts are simple to import and just as simple to use.
One of the nice things about Blazin Presenter is that the font workflow is flexible. You can upload a single font, import a full font pack, preview what you added, and then use those fonts anywhere your text objects appear. Even better, Blazin Presenter only exports the fonts you actually used, which helps keep presentation files lean.
Table of Contents
- Step 1: Open the Fonts Manager in Blazin Presenter
- Step 2: Find a Font You Want to Use
- Step 3: Make Sure the Font Is in a Supported Web Format
- Step 4: Upload an Individual Font into Blazin Presenter
- Step 5: Import a Font Pack for Faster Reuse
- Step 6: Rely on Blazin Presenter’s Smart Font Exporting
- Step 7: Apply Your Custom Fonts to Text Objects
- Step 8: Build a Small Font Library You Will Actually Use
- FAQ
Step 1: Open the Fonts Manager in Blazin Presenter
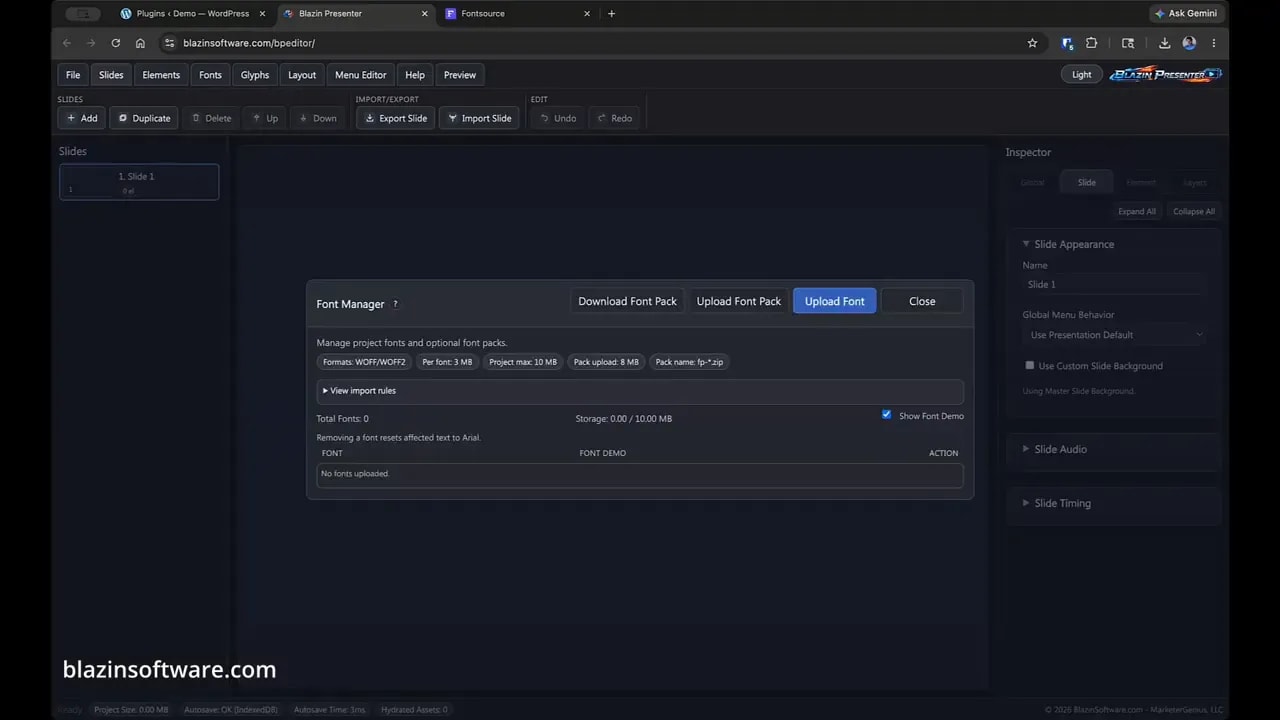
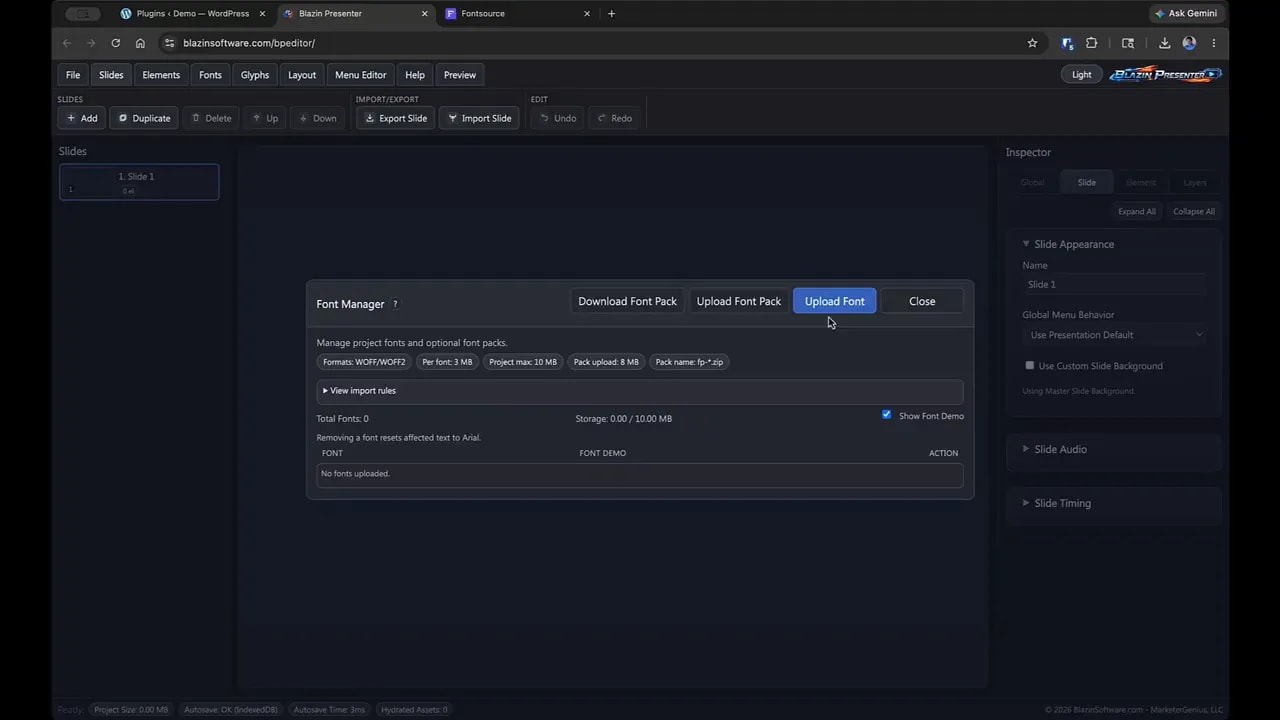
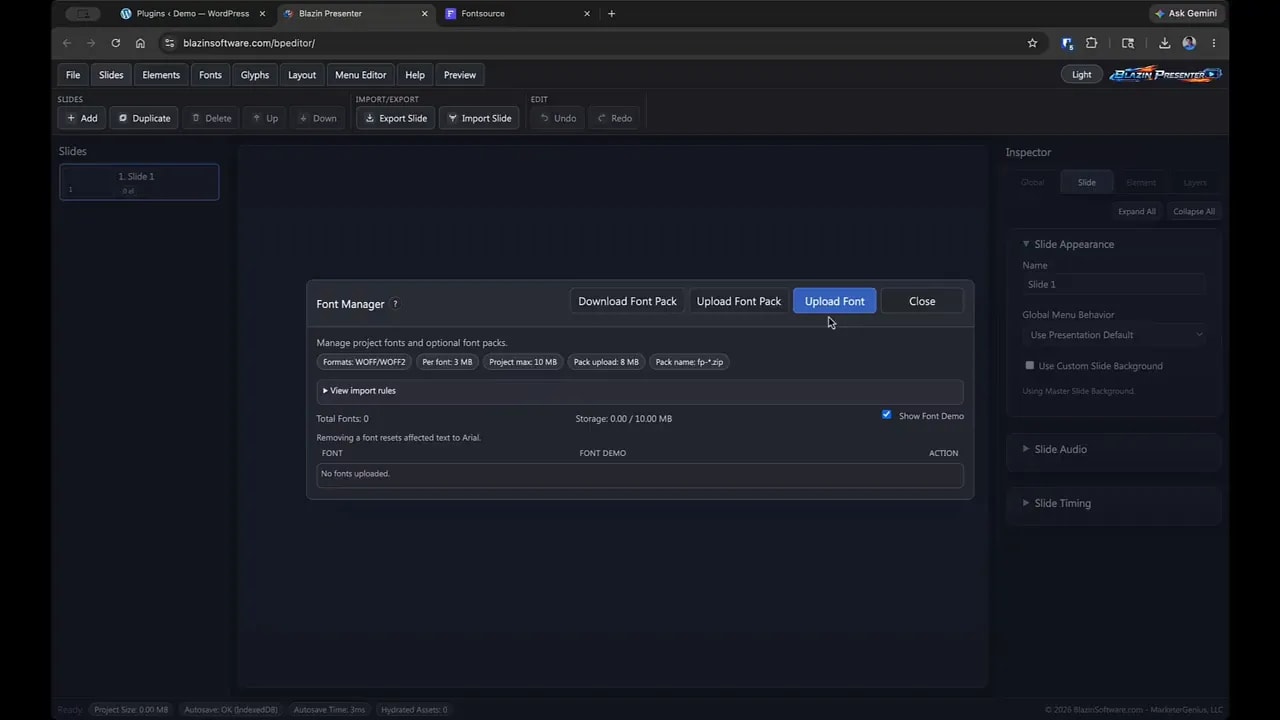
Everything starts in the Fonts Manager. In Blazin Presenter, click the Fonts menu item at the top of the interface. That opens the font importer window, which is where you manage custom font uploads.
This area is designed to handle two common workflows:
- Uploading individual font files
- Uploading a font pack, usually as a ZIP file containing several fonts you use often
If you are still getting comfortable with the interface overall, this Blazin Presenter Guide: Interface, Projects, Export & Navigation is a helpful companion.
Step 2: Find a Font You Want to Use
If you do not already have web-ready fonts on hand, a good source is FontSource at fontsourced.org, which offers a large collection of free fonts you can browse and download.
The process is straightforward:
- Visit FontSource
- Browse the available fonts
- Pick one that fits your style
- Download it to your computer
A sample font used in the walkthrough is Webster, and later the example shows Lobster being uploaded and applied inside Blazin Presenter. The specific font does not matter as much as choosing one that suits the tone of your project.
If your goal is to make presentations feel more distinctive, this is where a lot of personality comes from. A different font can immediately change the feel of a title slide, callout, heading, or promotional layout.
Step 3: Make Sure the Font Is in a Supported Web Format
This part matters. Blazin Presenter works with web fonts, specifically:
- WOFF
- WOFF2
Both formats are supported, but WOFF2 is the better option whenever possible. It gives you the same visual quality as WOFF while using a smaller file size.
That means:
- Less storage overhead
- More efficient exports
- No drop in quality
If the font you have is a TrueType font such as a TTF file from Windows or Mac, you may need to convert it first. Blazin Software provides help documentation for that process, and FontSource also offers a free converter that can turn TrueType fonts into web font files.
As a simple rule, use WOFF2 when available. If not, WOFF still works.
Step 4: Upload an Individual Font into Blazin Presenter
Once you have a compatible font file, importing it is quick.
- Open the Fonts Manager
- Choose the option to upload a font
- Locate the downloaded web font file on your computer
- Select it and upload
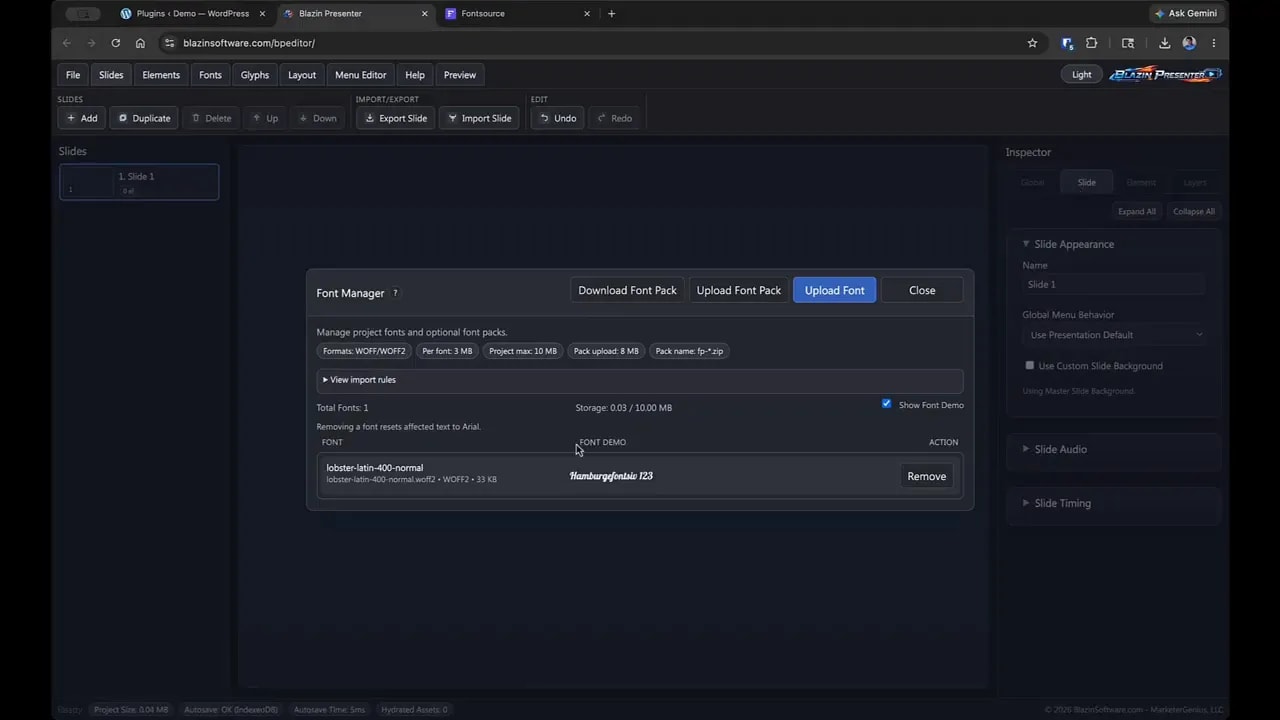
After the upload finishes, Blazin Presenter shows the font in the manager along with a small preview so you can confirm it looks right.
In the example workflow, Lobster is uploaded and immediately becomes available for use across text objects in the project. That is really the core idea here: once imported, your custom font becomes part of your working design toolkit inside Blazin Presenter.
Step 5: Import a Font Pack for Faster Reuse
If you regularly use the same set of fonts, importing them one at a time can get repetitive. That is where font packs come in.
A font pack is basically a ZIP file containing several fonts grouped together. This is useful if you want to build your own reusable collection for:
- Brand projects
- Client templates
- Course content
- Presentation themes
- Design consistency across multiple projects
We have a free Font Pack of assorted fonts to get you started

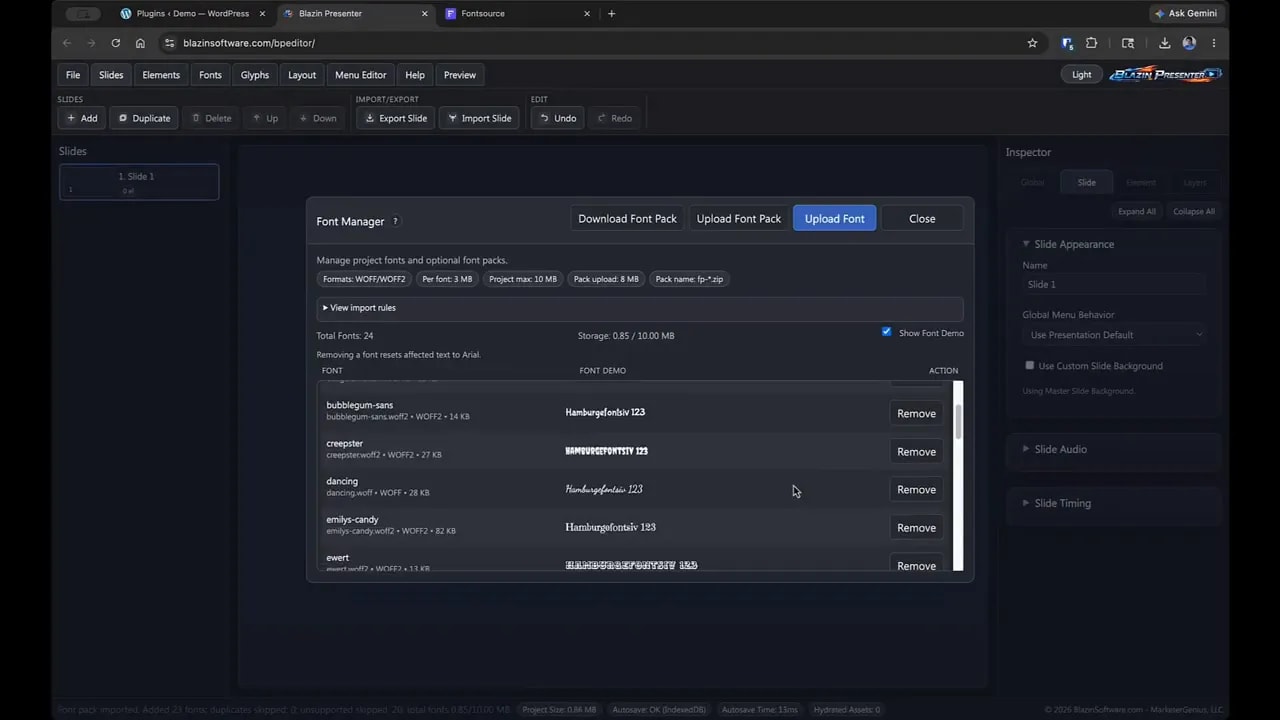
Blazin Presenter also supports uploading a prepared font pack directly through the Fonts Manager. In the example, a free font pack assembled by Blazin Software is imported to provide a broad and practical selection of usable fonts.
The included license files are stored in the ZIP, and the pack referenced is suitable for both commercial and individual use. That makes it a convenient starting point if you want more variety without hunting down fonts one by one.
Step 6: Rely on Blazin Presenter’s Smart Font Exporting
This is one of the most useful parts of the workflow.
Blazin Presenter does not dump every imported font into every exported presentation. Instead, it only includes the fonts that are actually used in that specific project.
So if you have imported 100 fonts but only used 1 or 2, only those 1 or 2 get exported.
That makes the export process much smarter and more efficient because it avoids unnecessary file bloat. You get the flexibility of a large font library inside Blazin Presenter without paying a penalty every time you publish a presentation.
This is especially helpful when you are building polished content for web delivery, training modules, or interactive experiences where efficient asset management matters. For more resources around workflows and tutorials, the Blazin Presenter resource page is worth browsing.
Step 7: Apply Your Custom Fonts to Text Objects
Once your fonts are imported, using them is no different from choosing any other font in Blazin Presenter.
- Go to Elements
- Add a Text Object
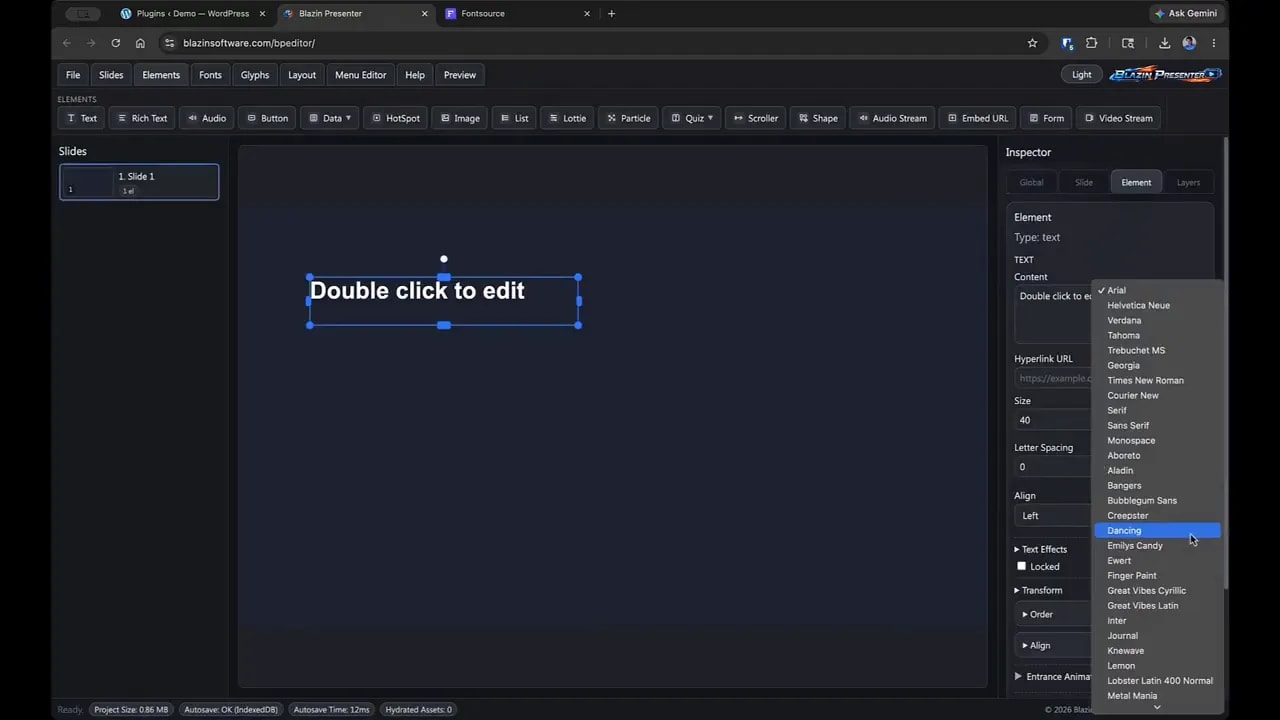
- Open the font selection options
- Choose one of your newly imported fonts
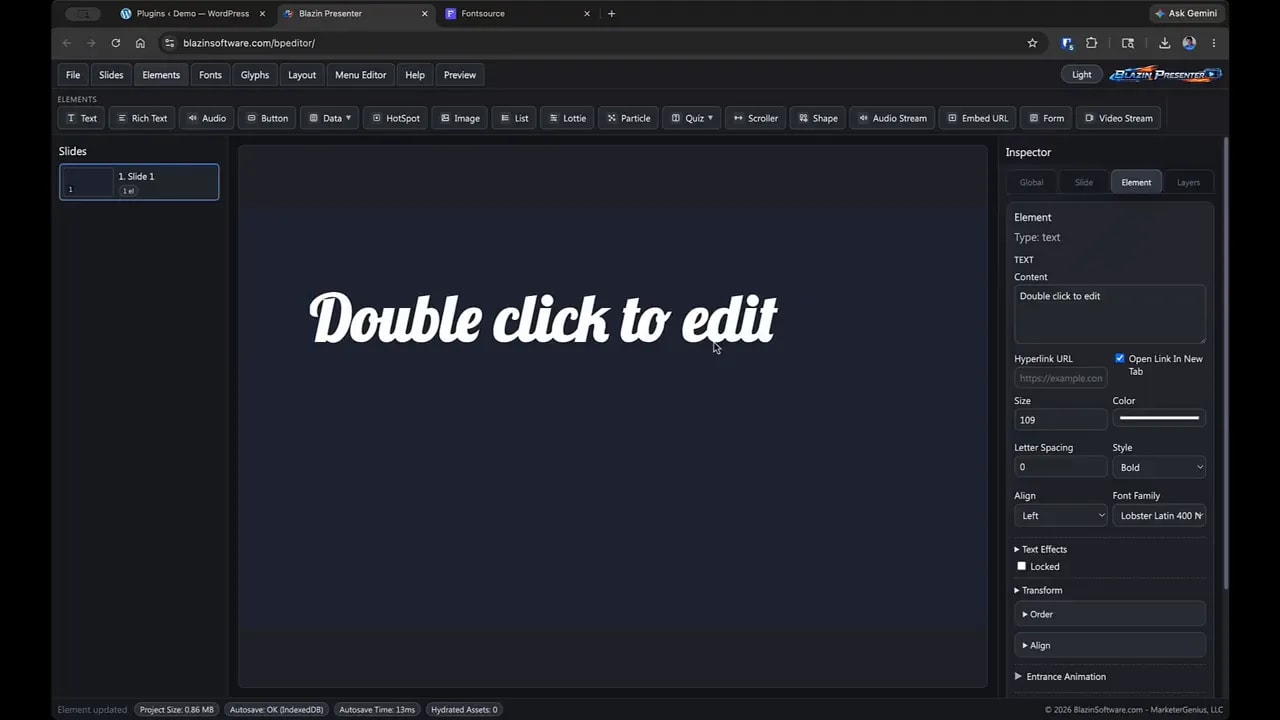
Your custom fonts will appear in the list alongside the existing options. In the example, the Lobster font is selected for a text object, and the text is then scaled up by holding Shift while dragging.
That means imported fonts are not limited or isolated. They can be used throughout your presentation anywhere text objects are supported.
This is where Blazin Presenter really opens up creatively. A custom font can help you:
- Create stronger title slides
- Match brand guidelines more closely
- Build a more polished visual identity
- Add contrast between headings and body text
- Make presentations feel less template-driven
Step 8: Build a Small Font Library You Will Actually Use
It is tempting to collect dozens or even hundreds of fonts just because you can. Blazin Presenter supports that flexibility, but the best results usually come from curating a smaller set you know you will return to.
A practical library might include:
- One strong headline font
- One clean supporting font
- One more playful or decorative option for special use
- A few brand-specific fonts if you work with clients or internal design standards
Because Blazin Presenter only exports fonts that are used, there is no harm in having more imported options available. Still, keeping your working library organized makes design decisions quicker and more consistent.
If you plan to publish finished projects online, including WordPress-based deployments, this setup guide for the Blazin Player for WordPress can help connect the rest of the workflow.
FAQ
What font formats does Blazin Presenter support?
Blazin Presenter supports web fonts in WOFF and WOFF2 formats. WOFF2 is generally the best choice because it offers the same quality with a smaller file size.
Can I use a TrueType font in Blazin Presenter?
Yes, but it may need to be converted first. If you have a TrueType font from Windows or Mac, convert it into a supported web font format such as WOFF or WOFF2 before importing it into Blazin Presenter.
Can I upload more than one font at a time?
Yes. Blazin Presenter allows you to upload individual fonts or import a full font pack as a ZIP file containing several fonts.
Will all imported fonts be included when I export a presentation?
No. Blazin Presenter only exports the fonts that are actually used in the presentation. This helps keep export sizes smaller and avoids wasting space.
Where can I find free fonts to use with Blazin Presenter?
FontSource is one recommended source for free fonts. It offers a large collection you can browse, download, and use once the files are in a supported web font format.
Can custom fonts be used in any text object?
Yes. Once imported, custom fonts become available in the text tools and can be applied throughout your Blazin Presenter project.
Custom typography is one of the easiest ways to make a project feel more intentional, more branded, and more professional. Blazin Presenter keeps the process simple: import the fonts you want, use them where needed, and let the software handle efficient exporting behind the scenes.
If you have been sticking with default fonts until now, this is a good feature to start using. A small change in type can make a big difference in how your presentation feels.